Learning how to weld is not really that hard and if you follow the right guide you should be able to do small welding projects at home. Whether it’s fixing a car or simply making your own mailbox, learning basic welding skills is possible.
In case you want to learn a thing or two, here is a simple guide from top handyman Chula Vista to help you.
Choose Your Method
The methods used in welding differ. The method you decide to go for will be determined by a number of factors including the thickness of the metal you are using, the size of the job, and whether you are working indoors or outdoors. However, the most common method used in welding is called electric arc welding. This is where an electric arc melts an electrode such as a welding wire. The arc also meets the base of the metal in part. The two molten parts then cool and fuse together to form a strong bond. This is the easiest type of welding to master and can be used to handle most simple projects.
Buy Your Equipment
You will also need the right equipment to do welding. Although you don’t need all the tools of professional Chula Vista handyman, there are some basic tools that are necessary. First, you will need a welder. This is the most expensive piece of equipment in the list. Make sure you buy the latest high tech welder to avoid any future problems. This will cost you more but it will be worth it.
You will also need the welding wires. Unlike the welder, the wire is quite affordable. As a rule of thumb, if you are working on thin sheet materials, always use thin welding wires. As the materials get thicker try to increase the wire’s diameter. You will also need the right shielding gas, a welding cart, right angle grinder, an awl or carbide scribe, a miter clamp, welding pliers, a wire brush, and a chipping hammer.
Getting Ready to Weld
Start by prepping the materials that you will use for the job. Remove oils and dirt on the materials and then cut the metal into the required measurements. Secondly, you will need to grind the edges of the metals you are using. The process is designed to make a 45-degree angle at the edge of the metals in order to allow for smoother joints. Put the metal in place and use the miter clamp to hold them together.
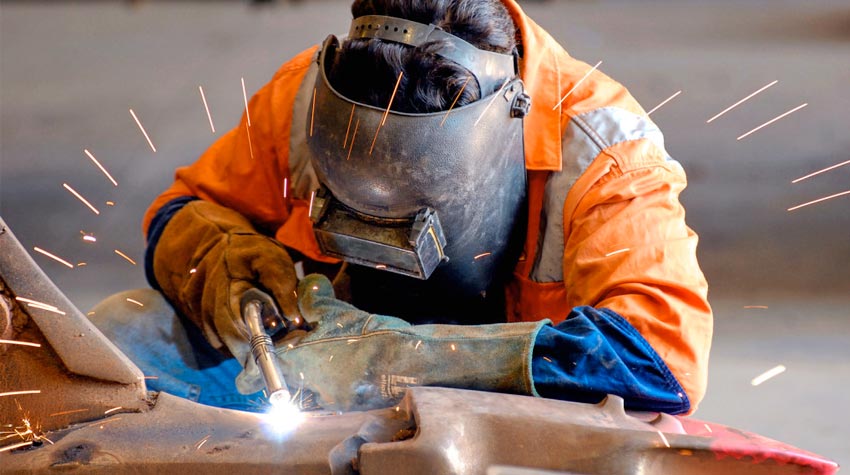
Once the metals are in place, it’s time to weld. Connect the welding wire to the welding gun before turning on the power. Test out the welding gun to make sure it’s working. Continue to weld the metals together gently. Always wear protective gear when you do this.
Finally, once the metals are strongly attached to each other you will need to smooth out the edges to get rid of the excess metal. A smooth finishing on the edges will make painting easier.
You don’t need to be among the best handyman Chula Vista CA to do a welding project. The basic guide above will help you get the skills you need.
